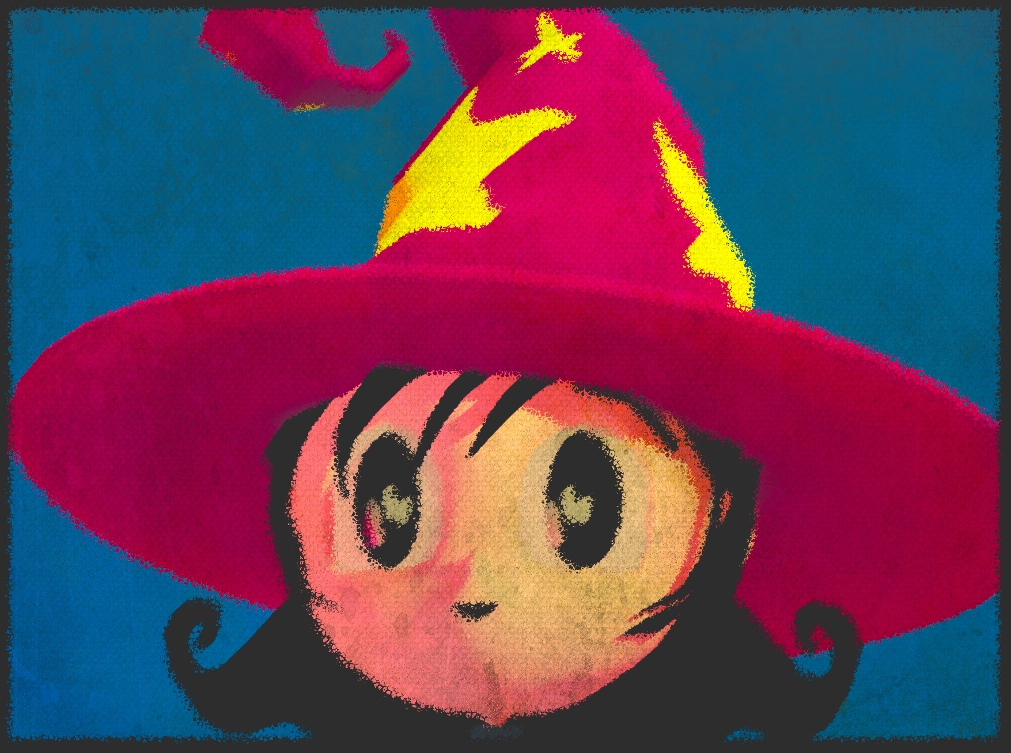
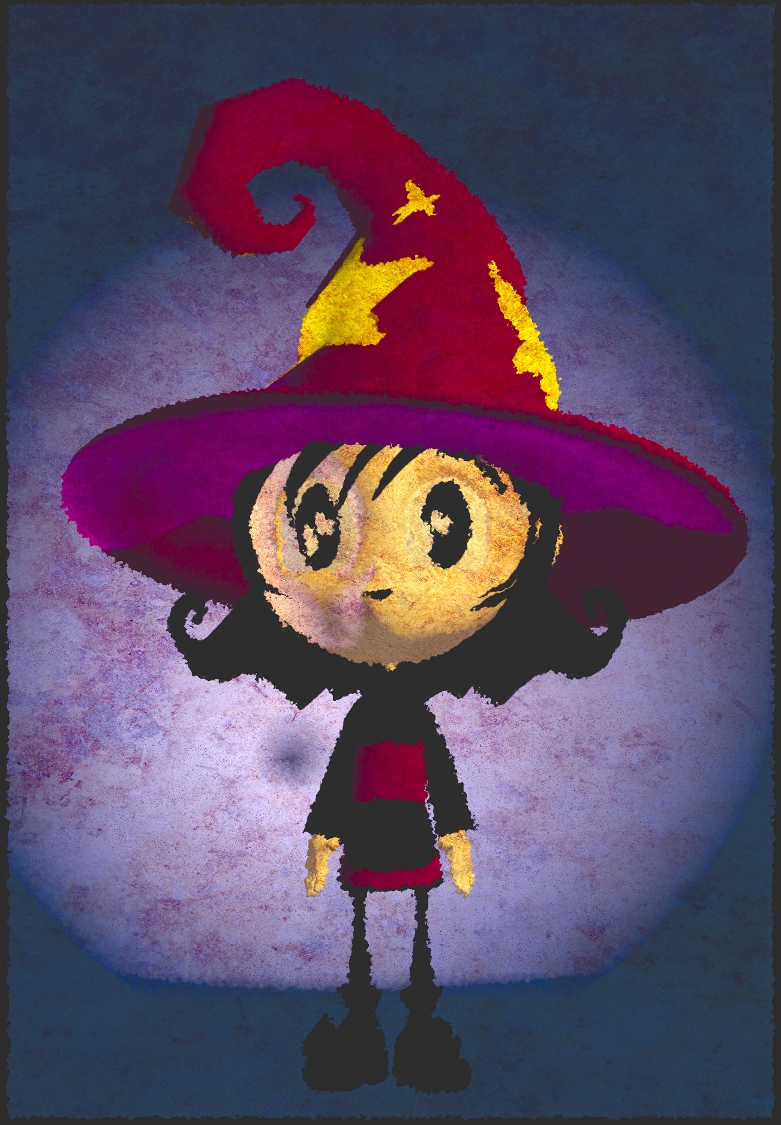
A painterly look with the Blender compositor.
By
Rylan Wright
I figured this out by trail and error with just the mind set of "I know Blender could do this."
Have a scene set up composed and lighted before you just through these nodes on any old Blender scene.These things have to be in place for you to really pull off a painted look the doesn't look like you still have that plastic CG real look.
Blah Blah Blah here is the node setup.
Pretty simple:)
Notice the 3 texture nodes.
'Cloud noise'
'Noise' (animated noise)
'Paper'(A grunge texture from the net)
I made those on a mesh in a layer that is turned off, so I can go to it and tweak the proprieties without affecting this ones I want rendered.Now you could probably do this in the compositor, but I wanted to keep things simple in there.
Here is what the proprieties of each texture looks like.
Cloud noise
Noise
Paper
Basically the combination of the noise,grunge paper texture and displacing nodes abstracts the image.Does it so well that when you use' Boarder' SHIFT + B KEY(No crop checked) the edges take on a arty look like ripped paper on the edges.
Cool!!!!
I used blender internal render for this, so you might have a little bit of difference if you use this with 'cycles' but shouldn't be much tweaking.
Update date on cycles:
whom a user a CGtalk used this on a cycles render and it works just fine :)
His Image is here.
I did a couple test and it's got potential.
There are some temporal coherence issues but I think It can be figured out.
And that's about it.
Here are a better examples of what you can pull off with this technique than just primitives.
Update
Here are newer renders I came up with.


Happy Blending!!!!!!!


15 comments:
Is it possible to upload the sample packed blend file please. It's a really cool effect.
Was the tutorial hard to understand?
mmmmmmmmmmmmmmmmmmmmmmmmmmmmmmmmmmmmm!!!!
i love the update shot you made - (witch little compositor...)
Thanks!!!
=:-)
http://www.aixalanca.com/Pruebas/blender/acuarela.jpg
Thanks
=:-)
Appreciate it.
I used a canvas texture where would have the image grunge texture.
Hi JiKz
My fellow freestyle friend :-)
@Ciriaco
You welcome.
Very nice render.
That is a great effect that would fit well with a freestyle outline. I haven't played with freestyle yet but can you get the lines on a layer and composite it over this?
A helpful change - without using the border select - you can add a transform node between the render layer and the colour balance, scale to .95 and use x and y to center the image again after the displace moves it.
The thing that doesn't show in your screenshots is the scale settings for the texture inputs. A trick I found is if you add a combine rgb node and add it to a group by itself you can get numeric inputs that get combined and work with a vector input. While you can't mouse slide more that 0-1 you can manually enter any values you want. This can help in a tutorial scenario as the inputs are visible on screen.
I'm avid Freestyle user but I have not combine this yet with it.
You would probably have to render out a Freestyle sequence of stills and bring them back into Blender in the compositor, then lay it with this technique.
Adding the transform node was a good tip.Thank you Shane.
Your last tip I'm having trouble warping my head around it but I will keep looking into it.
While it is doesn't really help you using your node tree it can help by making the values visible in a screenshot - http://www.pasteall.org/pic/show.php?id=39740
It can help if you want the same values for each texture scale.
An RGB value contains 3 numbers - one for red one for blue one for green
A vector value contains 3 numbers - one for X one for Y one for Z
While they are given different names they are just 3 numbers grouped together.
Ah!I see!
I've been away from my desktop for a few days, but now I have time to update the tutorial with more info on the value numbers
Thanks Shane.
Hey Rylan, could you explain this:
Does it so well that when you use' Boarder' SHIFT + B KEY(No crop checked) the edges take on a arty look like ripped paper on the edges.
Where is the Border setting? And what do you mean by Shift + B KEY...(is that Shift + B)
Boarder setting is in the 'Render' panel(still camera symbol), Dimensions section.
And yes.Shift + B in camera view will give you the selection area for texture edges once you render your image. Remeber leave crop unchecked.
There is a way to bypass all this in the nodes editor with scale.I'll post it in a update soon.
Post a Comment