Friday, December 21, 2012
Sunday, December 02, 2012
Friday, November 30, 2012
No cool art today but it's coming up soon.
If you on mobile look me up on the old Instagram.
Or the web version here.http://instagram.com/captaintuskegee
If you on mobile look me up on the old Instagram.
Or the web version here.http://instagram.com/captaintuskegee
Wednesday, October 31, 2012
Saturday, October 20, 2012
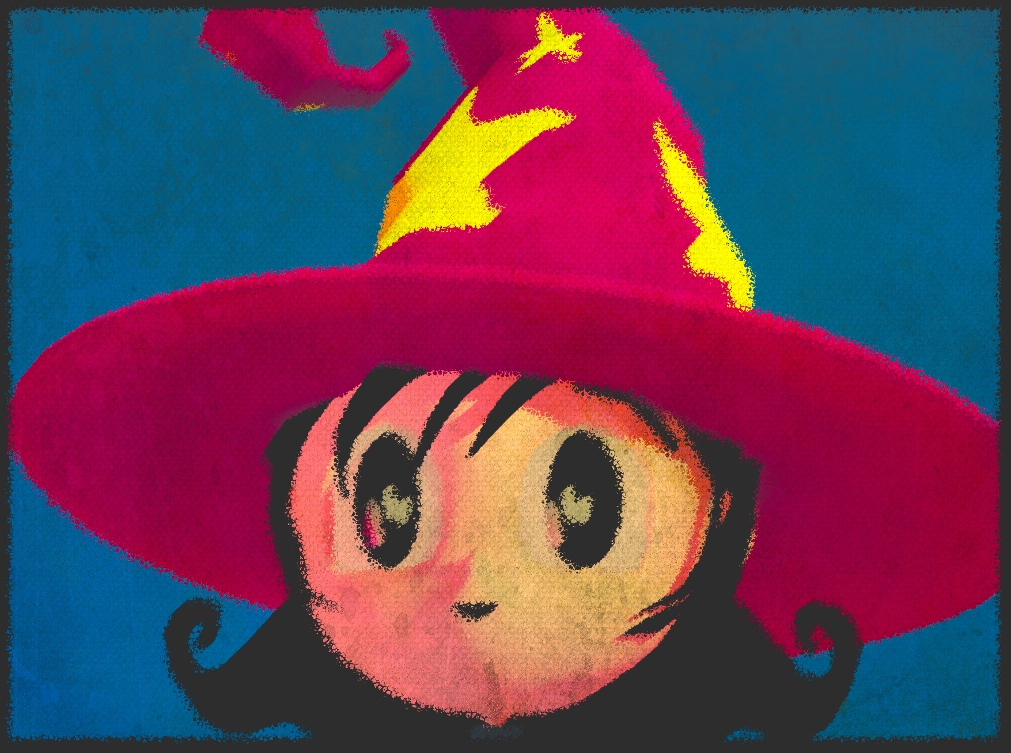
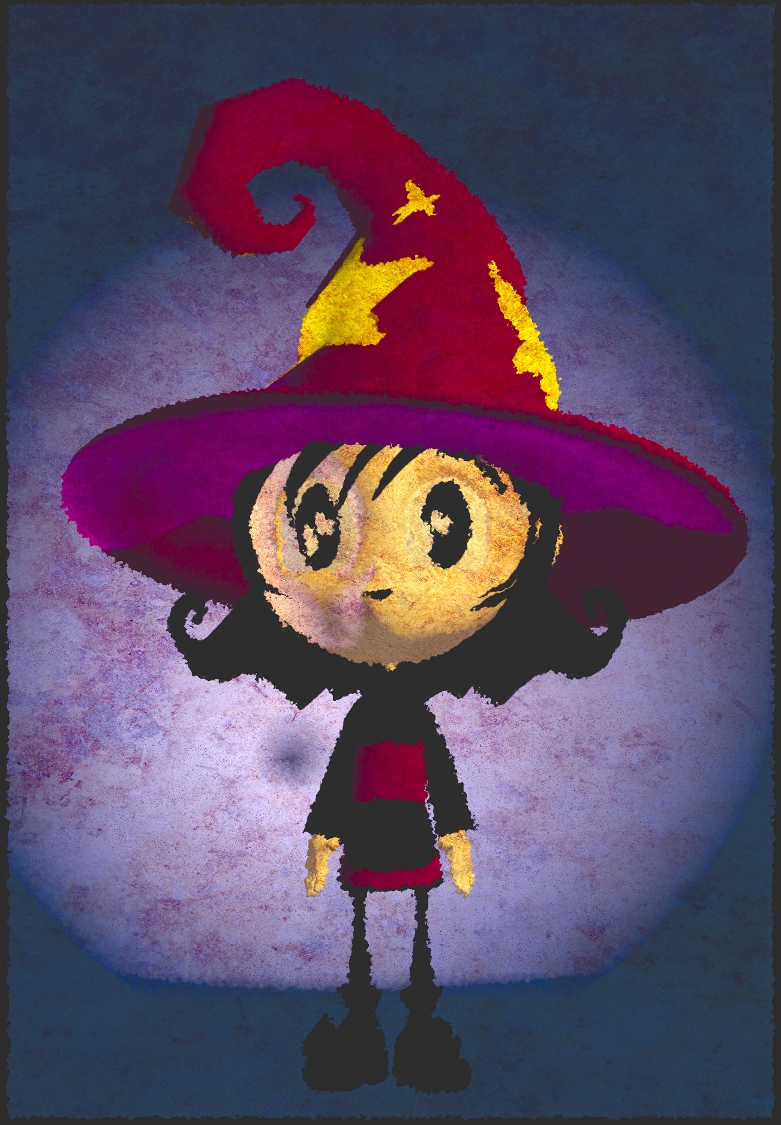
A painterly look with Blender compositor.
A painterly look with the Blender compositor.
By
Rylan Wright
I figured this out by trail and error with just the mind set of "I know Blender could do this."
Have a scene set up composed and lighted before you just through these nodes on any old Blender scene.These things have to be in place for you to really pull off a painted look the doesn't look like you still have that plastic CG real look.
Blah Blah Blah here is the node setup.
Pretty simple:)
Notice the 3 texture nodes.
'Cloud noise'
'Noise' (animated noise)
'Paper'(A grunge texture from the net)
I made those on a mesh in a layer that is turned off, so I can go to it and tweak the proprieties without affecting this ones I want rendered.Now you could probably do this in the compositor, but I wanted to keep things simple in there.
Here is what the proprieties of each texture looks like.
Cloud noise
Noise
Paper
Basically the combination of the noise,grunge paper texture and displacing nodes abstracts the image.Does it so well that when you use' Boarder' SHIFT + B KEY(No crop checked) the edges take on a arty look like ripped paper on the edges.
Cool!!!!
I used blender internal render for this, so you might have a little bit of difference if you use this with 'cycles' but shouldn't be much tweaking.
Update date on cycles:
whom a user a CGtalk used this on a cycles render and it works just fine :)
His Image is here.
I did a couple test and it's got potential.
There are some temporal coherence issues but I think It can be figured out.
And that's about it.
Here are a better examples of what you can pull off with this technique than just primitives.
Update
Here are newer renders I came up with.


Happy Blending!!!!!!!
Friday, October 12, 2012
Tuesday, October 02, 2012
Friday, September 28, 2012
Friday, September 07, 2012
Monday, August 27, 2012
Tuesday, August 14, 2012
Monday, July 23, 2012
Friday, July 13, 2012
Friday, June 22, 2012
I am a fan and a affiliate for promoting M Dot Strange new indie animated feature
"Heart string Maronite"
"If your into DIY film making with 3d software check it out and support"
Comes highly recommended.
Trailer
Comes highly recommended.
Trailer
Monday, May 28, 2012
Blender basic cartoon smoke.
Blender basic cartoon smoke.
By Rylan Wright
Your going to need the default cube(emitter),a sphere mesh(smoke),and the particle system(for animation).
Select cube and add a particle system to it by pressing '+' symbol in the panel.
Give it the name Toon smoke fx.
Select cube and add a particle system to it by pressing '+' symbol in the panel.
Give it the name Toon smoke fx.
-
Now pressing the play animation or ALT A, you'll see the particles in motion.
What you want now is to have control of particle direction.
Go down to the Velocity part of the panel and adjust Emitter Object.
My setting are
What you want now is to have control of particle direction.
Go down to the Velocity part of the panel and adjust Emitter Object.
My setting are
But adjust however you want it.
Once you have your direction under control, Go to the render section of the panel Uncheck Emitter(So it doesn't show up in your finals), change Halo to Object,and add the Sphere in Dupli Object.
I named my Sphere_smoke object.
I named my Sphere_smoke object.
Should have something like this in the 3d viewport.
Add a material.
I'm now going to add a shadeless white material for simplicity to the Sphere object, so Freestyle lines can pop out when rendered.
Now for some Freestyle fun:)
Turn on Freestyle by going to the Render panel.
Down in Post Processing and checking the Freestyle box.
Freestyle section will open up in the render panel.
You can use one of many cool preset style modules but you have to be in Python scripting in Control Mode section.
You can use one of many cool preset style modules but you have to be in Python scripting in Control Mode section.
But for this we'll just use Parameter Editor mode for user friendliness.
Hit the '+' symbol to add a custom style.
My settings.
Hit the '+' symbol to add a custom style.
My settings.
Not to far down from this you can find Freestyle:Line Style
I added a Calligraphy modifier because I love that thick brushy look it produces.
My settings below.
Now hit F12 and you should get something looking a lot like this.
Here is a low res animation.
This effect comes in handy for rockets,car tires,old steam punk trains etc...etc...
You can really push the NPR look for this a lot further with materials,modifier stack and textures.
It''s only the beginning.
Happy Blending.
Subscribe to:
Comments (Atom)


